We’ve all felt that sinking feeling: you spot a beloved plant looking limp and sad, and your first instinct is to grab the watering can. But hold on. Assuming droopy leaves mean "thirsty" is one of the most common mistakes in plant care. More often than not, it's a sign of a much deeper problem brewing below the surface—an overwatered plant. Before you can stage a rescue, you have to know what you're up against. The secret is to look past the leaves and get your hands dirty, because the soil and roots tell the real story. This guide will walk you through diagnosing the issue, performing plant CPR, and building a smarter watering routine to prevent it from ever happening again.
Decoding Your Plant's Distress Signals
Think of yourself as a plant detective. Knowing which clues to look for is the key to cracking the case and bringing your plant back from the brink. It can be tricky, because an overwatered plant can look surprisingly similar to a thirsty one, trapping well-meaning gardeners in a disastrous cycle of adding more water to a plant that's already drowning. With a little knowledge and a tool like the Tendra app to help confirm your suspicions, you can become a pro at reading the signs.
The Tell-Tale Signs of Overwatering
The symptoms can start small, but they’ll quickly escalate if you don't intervene. Keep a sharp eye out for a combination of these classic red flags:
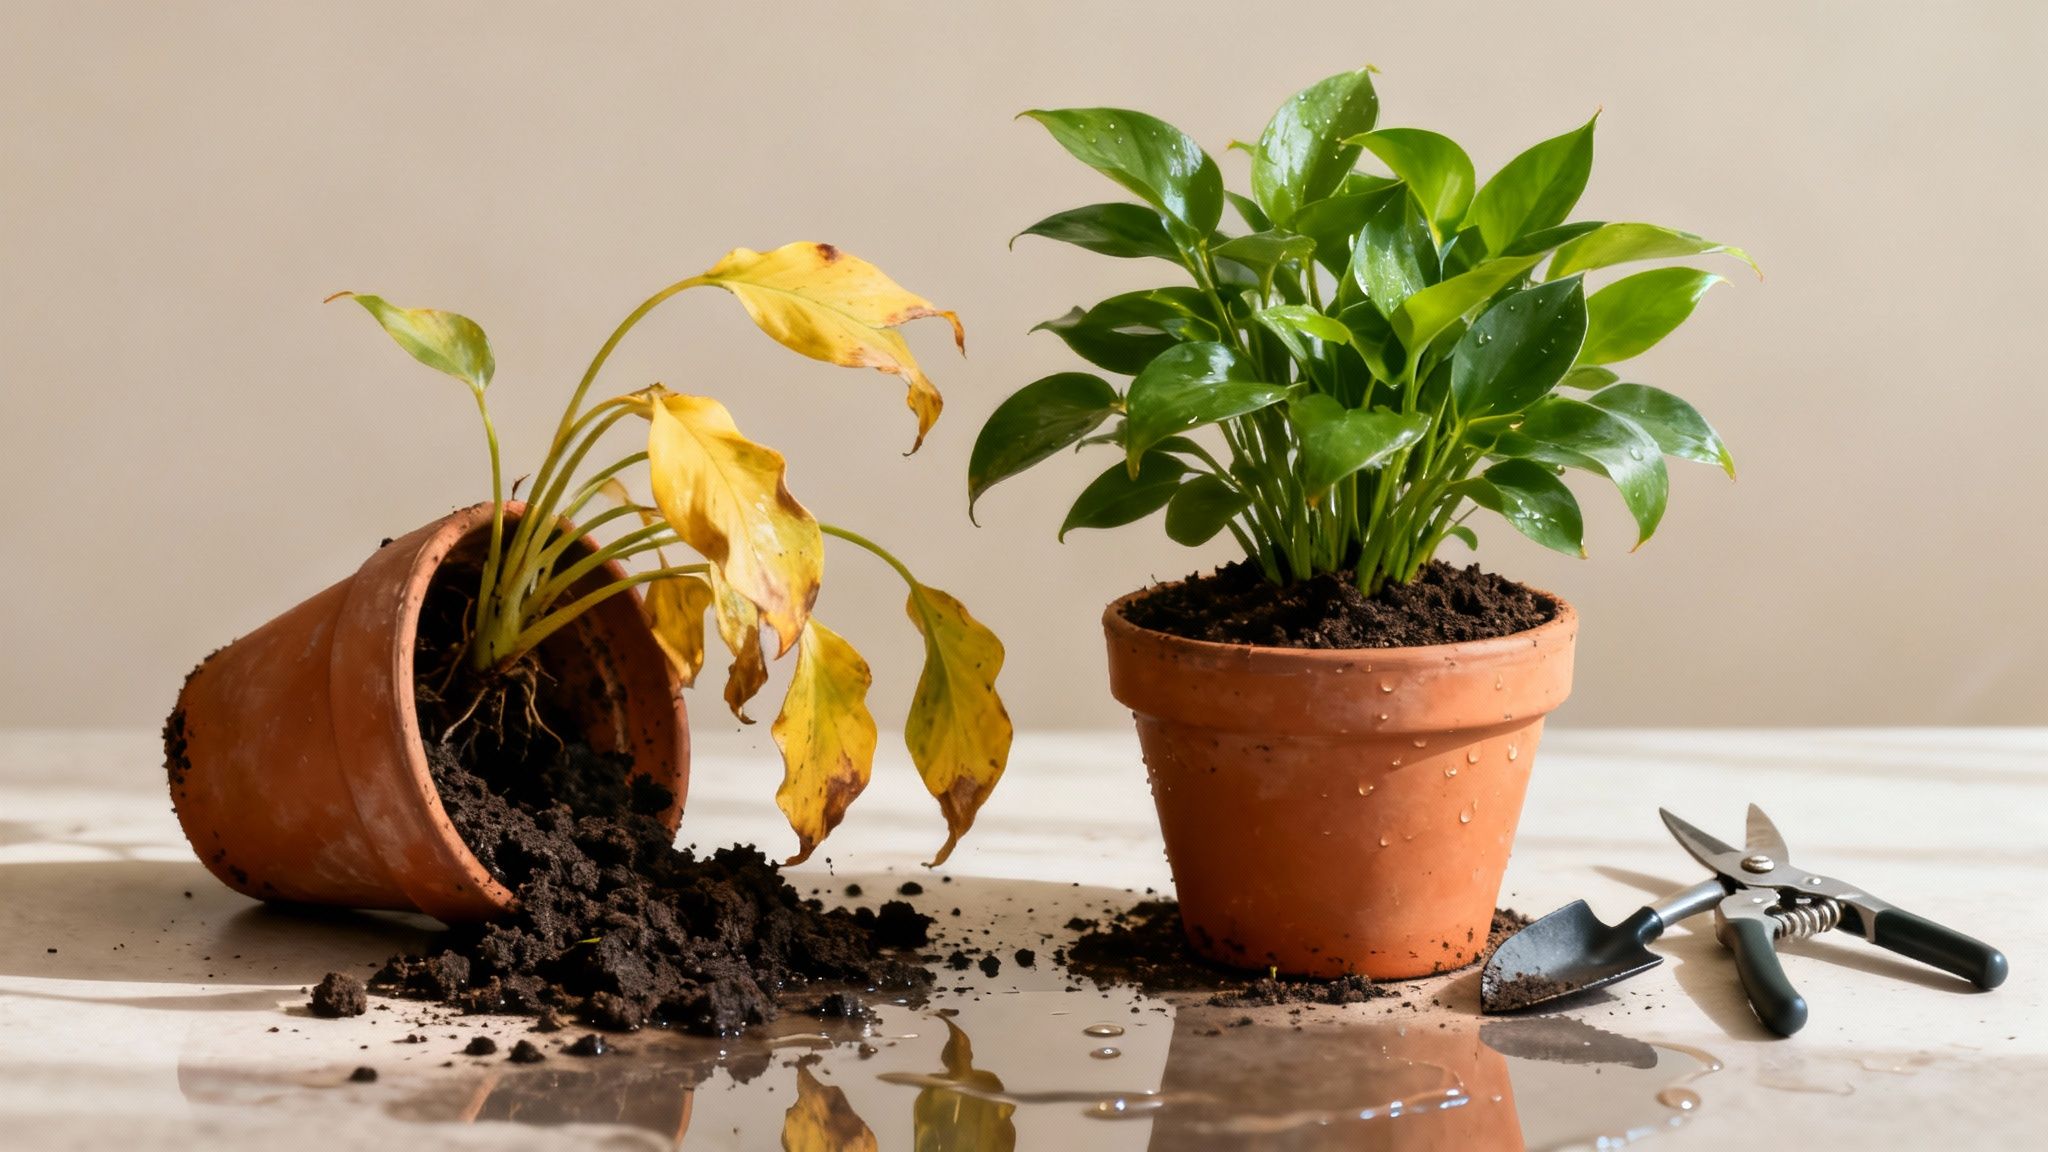
Limp, Yellowing Leaves: This isn't the crispy, dry yellowing you see on an underwatered plant. Overwatering causes leaves to turn a soft, almost mushy yellow, usually starting with the lower leaves first. If you want to dive deeper into what different shades of yellow mean, check out our complete guide to decoding your plant’s signals when its leaves turn yellow.
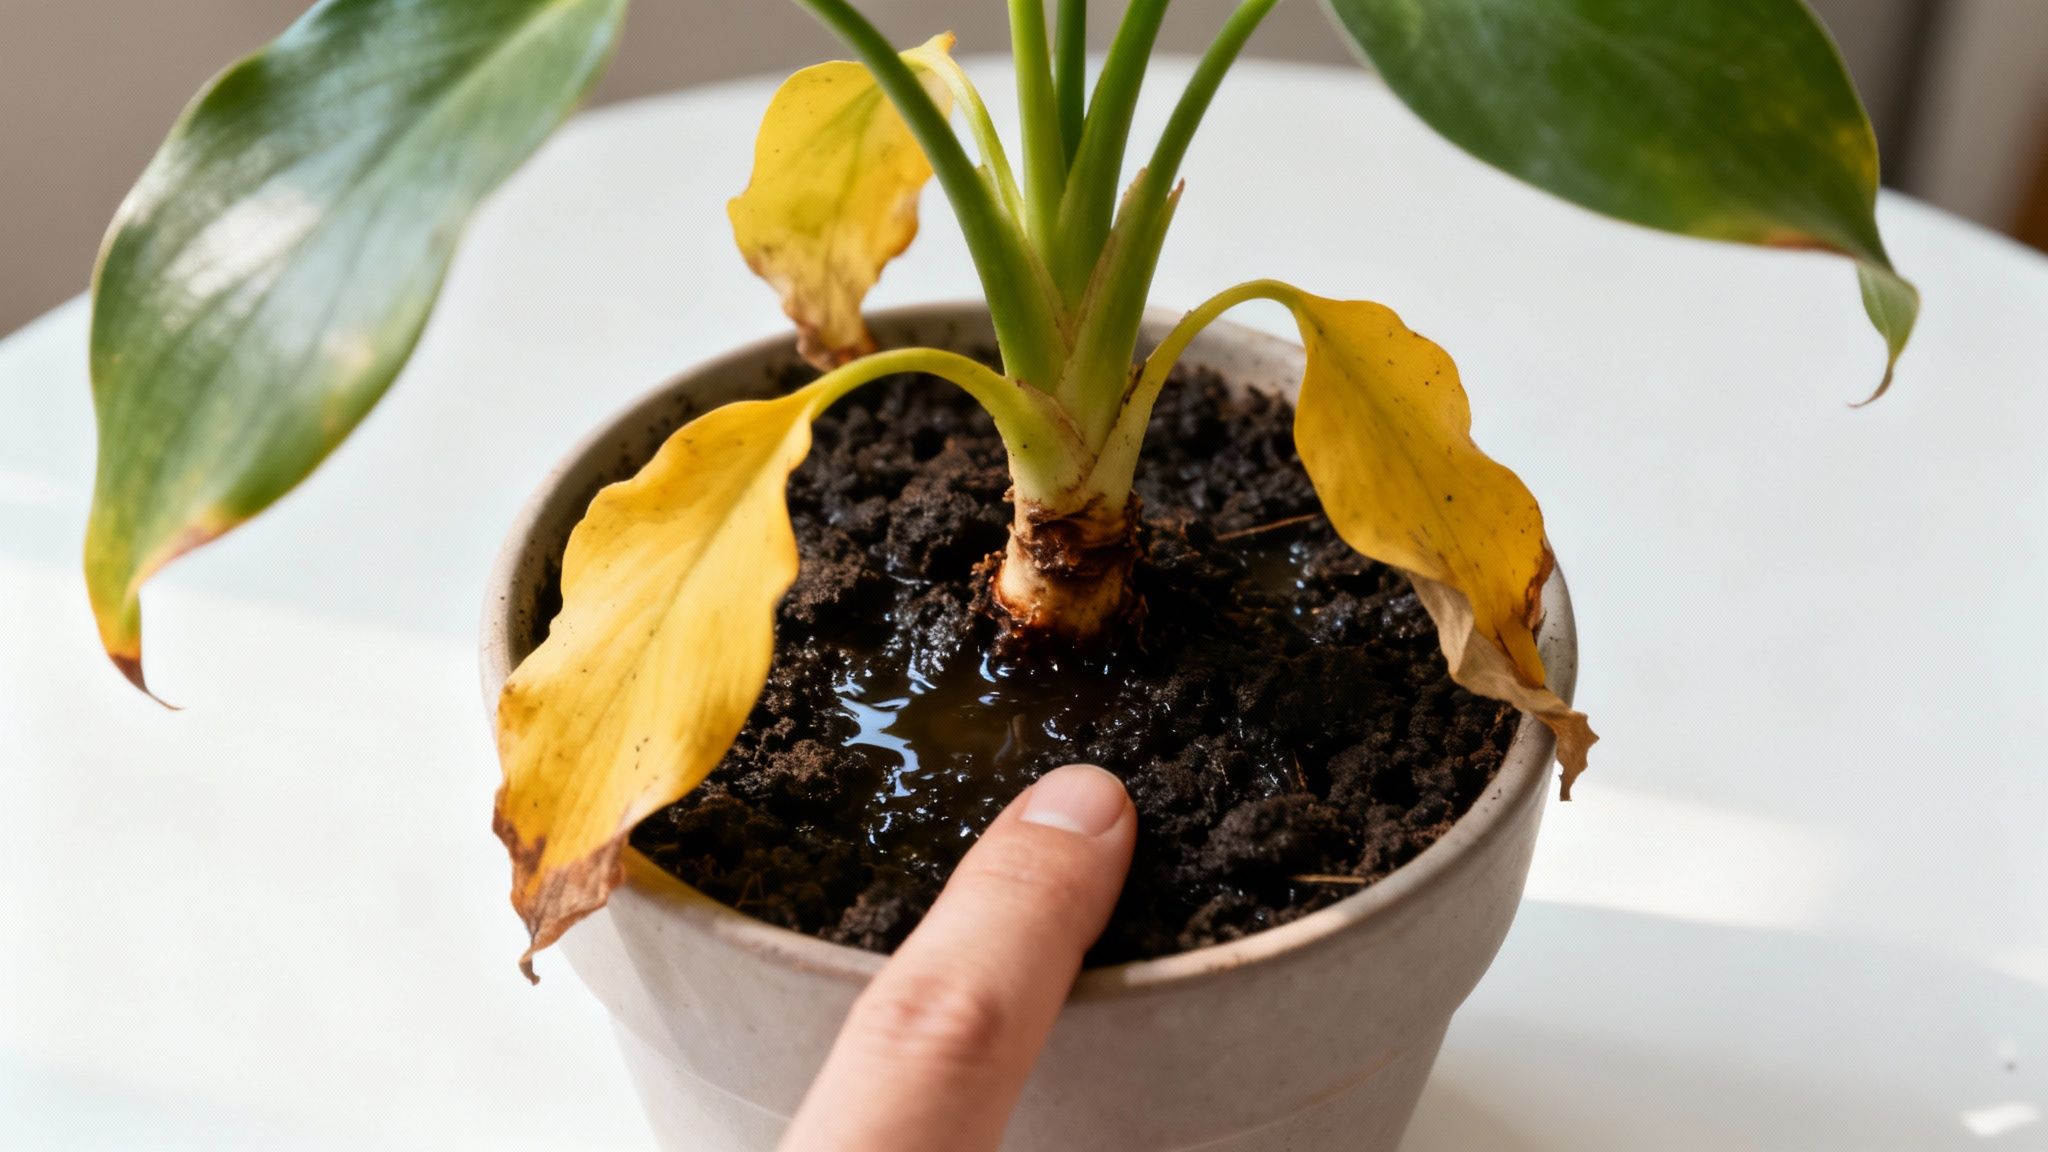
Constantly Soggy Soil: This is your most direct clue. The soil stays wet for days on end, feels heavy, and might even look compacted. Even if the top inch dries out, a quick poke with your finger will reveal a swampy mess underneath.
A Musty or Foul Odor: Give the pot a sniff. Healthy soil smells earthy and fresh. If you catch a whiff of something sour, swampy, or like rotten eggs, that’s a huge warning sign. It means root rot has set in.
Mushy Stems at the Base: Gently feel the part of the stem that meets the soil. If it’s soft, squishy, or looks dark and discolored, the rot is spreading from the roots into the plant itself.
Uninvited Guests: See a cloud of tiny black flies buzzing around your plant? Those are probably fungus gnats. They absolutely love consistently moist soil and are a dead giveaway that things are too wet.
To make it even clearer, sometimes it helps to see the symptoms side-by-side.
Overwatered vs Underwatered Plant Symptoms
Use this quick comparison chart to diagnose your plant's issue correctly.
| Symptom | Overwatered Plant | Underwatered Plant |
|---|---|---|
| Leaves | Soft, limp, and yellow. Often starting from the bottom. | Dry, crispy, and brown at the edges. May curl inward. |
| Soil | Stays wet, feels heavy, and may be compacted. | Pulls away from the sides of the pot; feels bone dry. |
| Stem | Can be soft, mushy, or discolored at the base. | May appear shriveled, thin, or brittle. |
| Overall Look | Droopy and wilted, but not for lack of water. | Droopy, wilted, and visibly thirsty. |
| Pests | Fungus gnats are common. | Spider mites can appear in dry conditions. |
The Science Behind the Sog
So what’s actually happening down there? When soil becomes waterlogged, the water fills up all the tiny air pockets that roots rely on for oxygen. The roots literally begin to suffocate.
Without oxygen, the roots can't perform their basic functions, like absorbing nutrients and water to send up to the rest of the plant. This is why you see those droopy, yellow leaves—the plant is essentially drowning and starving at the same time. The lack of oxygen creates the perfect anaerobic environment for rot-causing fungi and bacteria to thrive, which quickly turns healthy white roots into a brown, mushy mess.
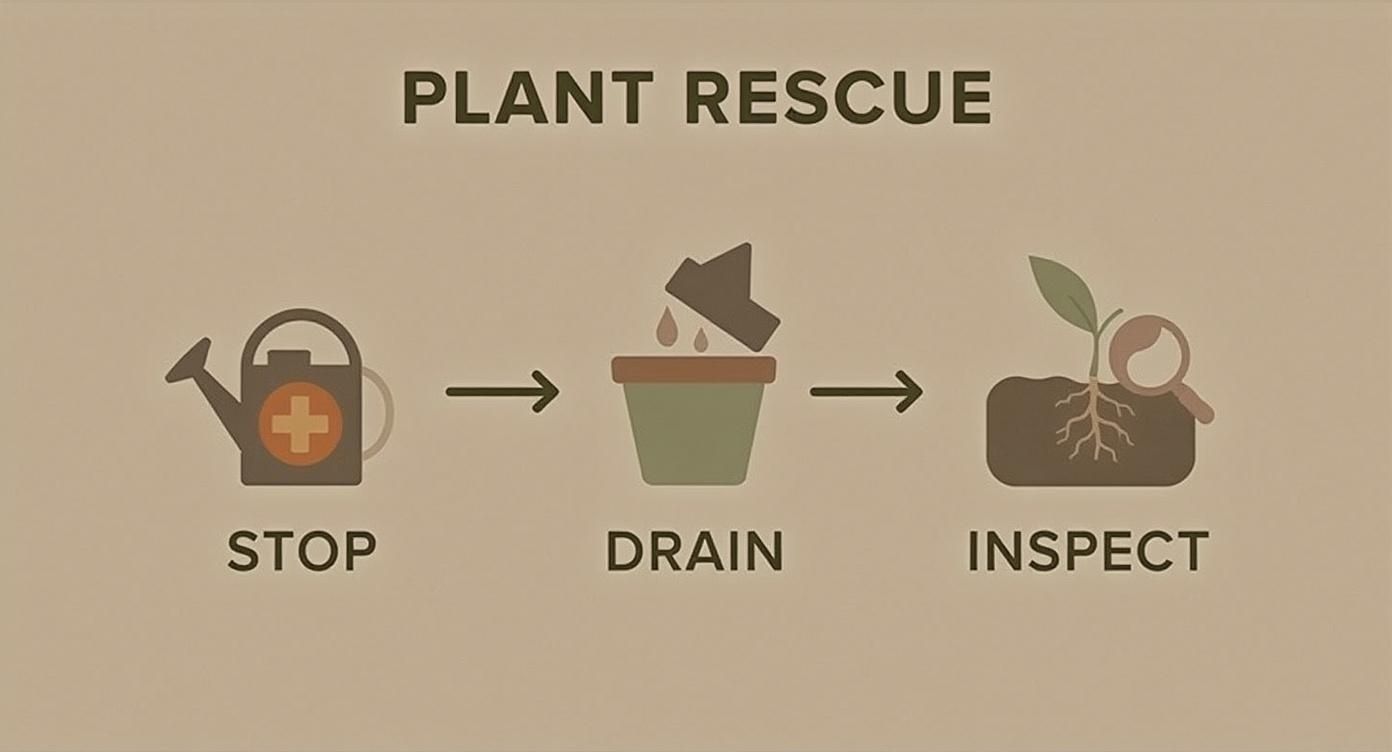
Staging a Rescue: Plant CPR
Alright, you've figured out your plant is drowning. Time to act. Think of this as plant CPR—we're going to stop the damage and give those roots a chance to breathe again. Don't panic. You've got this. The first, most non-negotiable step is simple: put the watering can down. Seriously. Step away. Even if the plant looks pathetically wilted, more water is the absolute last thing it needs. It’s not thirsty; it’s suffocating.
Immediate First Aid
Before we get our hands dirty with a full-blown repotting mission, let's try a couple of less dramatic tricks. The goal here is to improve drainage and get some air to the roots without stressing out an already fragile plant.
The Tip and Drain: Gently tilt the pot at a 45-degree angle over a sink or a big saucer. Gravity is your friend here, helping any standing water at the bottom find its way out. You might be shocked at how much trickles out.
Aerate the Soil: Find a chopstick, a bamboo skewer, or even a pencil. Carefully poke several deep holes all over the soil surface. Be gentle—the idea is to create air channels, not to skewer the main roots. This breaks up that dense, waterlogged soil and helps the root zone dry out much faster.
Sometimes, for a mildly overwatered plant, these two moves are all it takes. Just give it a few days in a spot with good airflow and see if it starts to look a little happier.
When to Escalate to Plant Surgery
If the soil is still a swamp after a day or two, smells a bit funky, or the plant is showing zero signs of perking up, it’s time for a more direct approach. We need to get a look at what’s happening below the surface. Gently slide the plant out of its pot. This is your moment of truth. What you’re looking for is the difference between healthy roots (firm, crisp, and usually white or light tan) and the tell-tale signs of root rot: brown, mushy, and foul-smelling roots.
Pro Tip: This is a perfect moment to get a second opinion. If you're staring at the root ball and feeling unsure, snap a clear photo. Tendra's AI disease diagnosis can analyze the picture and help confirm if you're dealing with root rot. That confirmation gives you the confidence to know you're taking the right next step.
Treating Root Rot and Repotting for Success
So you've unpotted your struggling plant and were met with the dreaded sight: brown, mushy roots and a distinctly foul smell. That's root rot, no doubt about it. It looks grim, but this isn't necessarily a death sentence. Think of what comes next as plant surgery—a careful operation to cut away the decay and give your plant a fresh start.
Performing a Root Trimming
Gently rinse all that old, soggy soil from the root ball under lukewarm running water. Once the soil is gone, you'll get a clear look at the damage. Healthy roots are firm, flexible, and usually white or light tan. Rotten roots are the opposite: dark brown or black, slimy to the touch, and so fragile they might fall apart in your hands.
Grab your pruning shears or a sharp pair of scissors and sterilize them. A quick wipe with rubbing alcohol or a dip in a 10% bleach solution works perfectly. Now, take a deep breath and start trimming. You need to confidently snip off every single brown, mushy root. Keep cutting until you only see healthy, white tissue at the end of the root. Don't be timid! Leaving even a tiny bit of rot behind can cause the infection to flare up again.
Once trimming is done, here are two options for treating the remaining roots:
Hydrogen Peroxide Rinse: Mix one part 3% hydrogen peroxide with two parts water. Briefly swish the trimmed roots around in this solution. The fizzing action you'll see is the peroxide releasing oxygen, which is fantastic for killing the anaerobic bacteria that cause root rot.
Cinnamon Dusting: Regular ground cinnamon is a potent natural fungicide. After the rinse, gently pat the roots dry with a paper towel and give them a light dusting of cinnamon before you repot.
Choosing the Right Pot and Soil
Your plant's new home is just as critical as the root surgery itself. Do not reuse the old pot unless you've scrubbed it out with hot, soapy water and then sterilized it to kill any hidden pathogens. More importantly, pick a new pot that’s just the right size—only an inch or two (2.5-5 cm) wider than the trimmed root ball. And this is an absolute must: the pot must have drainage holes.
A Note on Potting: If you’ve found a beautiful decorative pot with no drainage, use it as a cachepot! Just keep your plant in a cheap plastic nursery pot that does have holes, and then tuck that inside your stylish one.
Finally, the soil. Toss out the old, contaminated stuff. Your comeback kid needs a fresh, airy potting mix. A stellar recovery mix is easy to make:
One part high-quality indoor potting soil
One part perlite or pumice (for aeration)
One part orchid bark (to create air pockets)
This chunky blend allows water to flow through freely and helps precious oxygen reach those healing roots. For a broader look at plant health, you can learn more about how to stop plant diseases fast in our comprehensive guide.
Building a Smarter Watering Routine
You've done it. You pulled your plant back from the brink, and that's a huge victory. But the real win? Keeping it thriving. The goal now is to shift from frantic rescue missions to confident, proactive care. It’s time to ditch rigid schedules and start listening to what your plant is actually telling you.
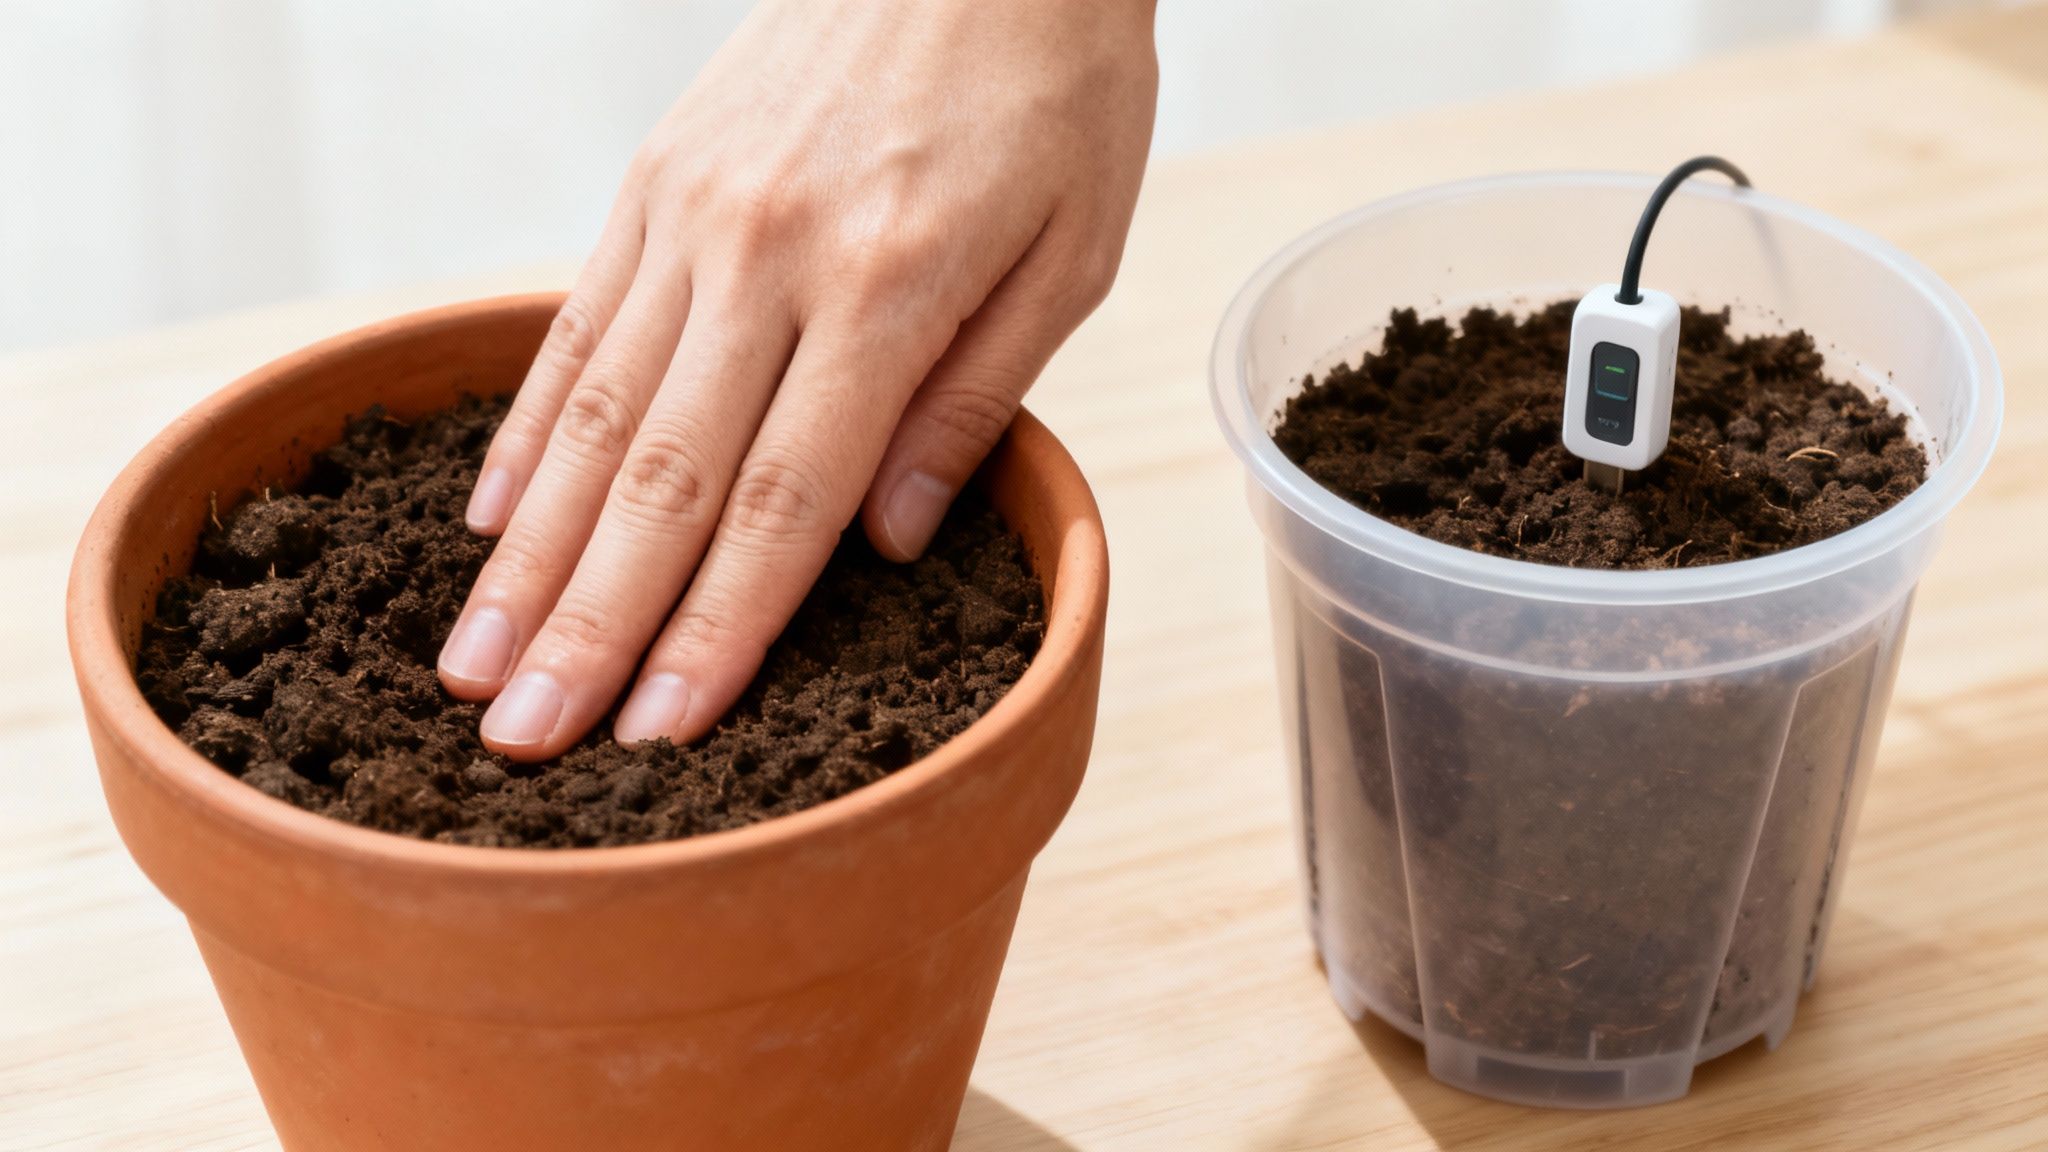
Learn the 'Feel the Soil' Method
The most reliable tool for checking your plant’s thirst is already at your disposal: your finger. Stick your index finger about 2 inches (5 cm) deep into the soil. What does it feel like? If it's still damp and soil clings to your finger, hold off on watering. If it feels dry and the soil falls away easily, it’s go-time. This simple, hands-on technique is trusted by professional growers everywhere for a reason. It just works.
Factors That Influence Your Plant's Thirst
A flexible watering plan means you’re adapting to your plant's current conditions. Several key elements will tell you how quickly that soil is going to dry out.
Pot Material: A classic terracotta pot is porous and breathes, wicking moisture away from the soil much faster than a non-porous plastic or glazed ceramic one.
Light Exposure: A plant soaking up rays in a bright, sunny window is going to power through its water supply way faster than one in a low-light corner.
Humidity Levels: A plant in a dry, centrally-heated room will get thirsty more often than one enjoying the steam in a humid bathroom.
Seasonal Changes: Plants are most active during their growing season (spring and summer) and need more water to fuel that growth. Come fall and winter, their metabolism slows down, and so does their water consumption.
Did you know? Globally, about 60% of the world's irrigated agriculture is already exposed to severe water stress. Eliminating water wastage by adopting precise monitoring techniques is essential to protect both plant vitality and global water supplies. You can discover more insights on global water stress.
This adaptive approach is the secret to never having an overwatering crisis again. A huge part of this is also starting with the right foundation—your soil mix. If you want to dive deeper, you might be interested in a gardener’s guide to mastering soil pH.
Your Top Questions Answered
We've walked through the emergency rescue, but you probably still have some nagging questions. Let's tackle the most common ones.
How Long Does Recovery Actually Take?
This is where patience becomes your greatest gardening tool. After a major repot and root trim, your plant is in shock. Don't expect to see a burst of new leaves for several weeks, or even a couple of months. Right now, its number one job is to grow a new, healthy root system. Your job is to give it a stable environment with bright, indirect light and very careful watering.
Should I Give a Recovering Plant Fertilizer?
Absolutely not. Fertilizing a stressed-out plant is like making someone who just ran a marathon go lift heavy weights. It’s too much, too soon. The roots are fragile and putting all their energy into healing. Wait until you see steady, new leaf growth for at least a month before reintroducing a heavily diluted fertilizer.
What’s Going On If the Leaves Are Still Droopy After Repotting?
It’s often a normal part of the healing process. Your plant just lost a big chunk of its root system, which means it can't pull up enough water to keep all its leaves perky. This is classic transplant shock. Bump up the humidity with a humidifier or a pebble tray and keep it out of direct sun. Some leaves may drop as the plant redirects its limited energy to where it matters most: the roots.
Community Insight: If you're worried about the droopiness, getting a second opinion from a local gardener can be a huge help. Tendra's Twin Plant Mates feature is perfect for this—it connects you with people nearby who've probably nursed the exact same plant back to health in your specific climate.
Is It a Lost Cause If All the Roots Are Rotted?
If you've unpotted your plant and found nothing but brown, smelly mush where the roots should be, the main plant is likely a goner. But that doesn't mean you've lost the plant entirely. Switch from rescue mode to propagation mode. Scan the plant for any healthy-looking stems or leaves, snip them off, and try propagating them in water or a fresh medium. You can give it a second life by cloning it.
Bringing a plant back from the brink is a huge accomplishment, turning that initial panic into pure pride. Successfully saving an overwatered plant empowers you with the knowledge to care for your entire collection more confidently. The key is observation, timely action, and connecting with a community that shares your passion for growth.
Connect with local gardeners who've solved this exact problem. Discover a smarter way to grow with Tendra.


