Have you ever brought home a beautiful spider plant, only to watch its vibrant green leaves develop sad, crispy brown tips a few weeks later? It's a common story that leaves many plant parents feeling frustrated. The good news is, the secret to lush, thriving spider plants isn't a complicated formula. It's about understanding a few simple needs. This guide will transform you from a worried owner into a confident caregiver, ready to grow a spider plant that not only survives but flourishes. You'll learn the fundamentals of care, how to troubleshoot common issues, and even how to create new plants for free.
Why Every Home Needs a Spider Plant
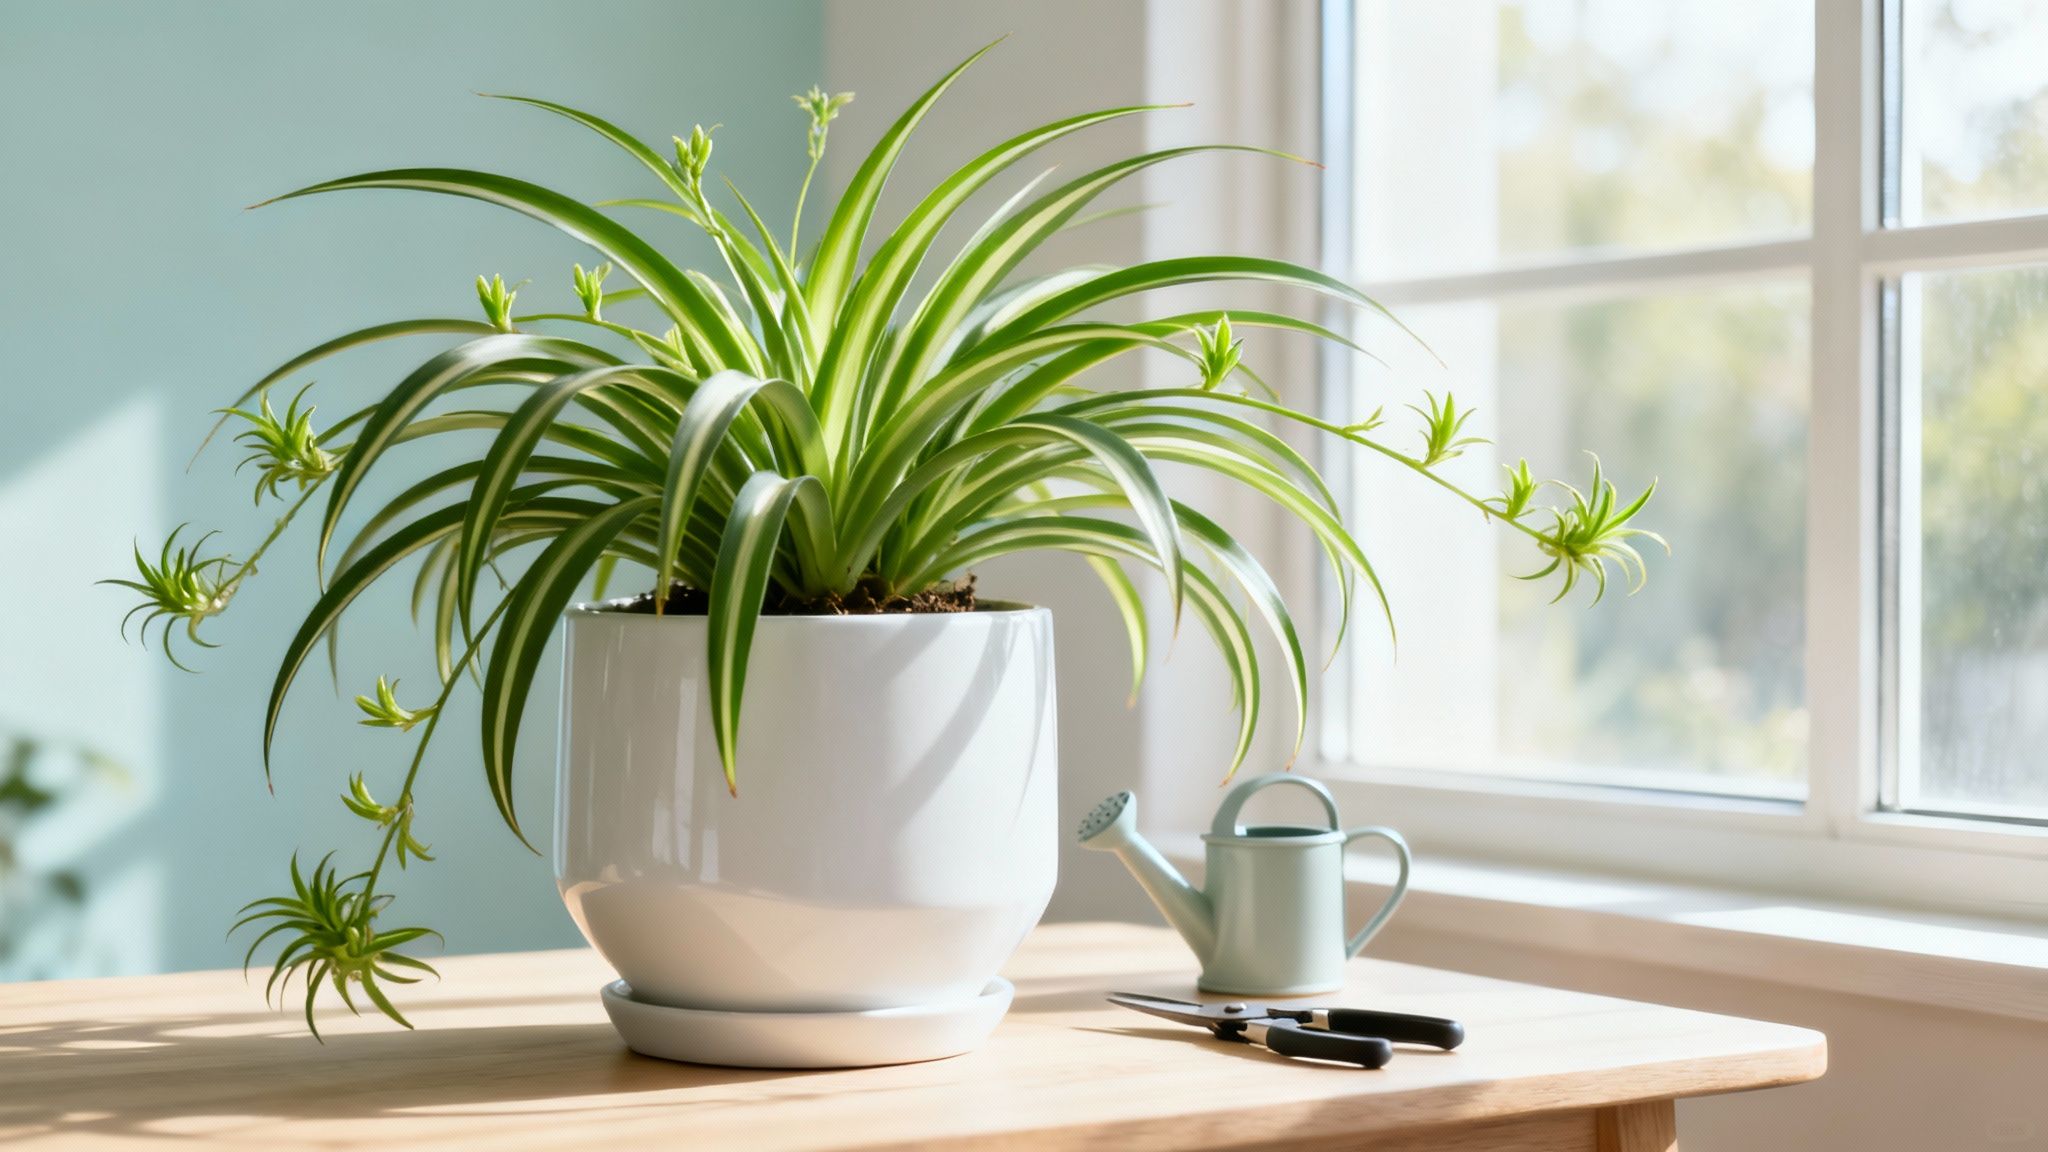
Meet the spider plant, Chlorophytum comosum, a true houseplant hero celebrated for its air-purifying qualities and wonderfully forgiving nature. It’s the perfect companion for both beginners and seasoned gardeners. This guide is your complete roadmap, walking you through everything from the basic essentials to the fun part: making more spider plants to share. You'll learn how to spot common problems and keep your plant looking lush for years to come.
And if you ever get stuck, you're not alone. The Tendra app connects you with a community of local gardeners and provides smart tools to help. You can get answers to your specific spider plant questions and give it the best care possible. While you're at it, explore our comprehensive guides to other popular houseplants to keep your indoor jungle growing.
Mastering the Foundations of Spider Plant Care
Think of caring for your spider plant like building a house. If you get the four main pillars right—light, water, soil, and environment—your plant won't just scrape by; it'll absolutely flourish. When these elements are in sync, you get a happy, healthy plant that’s busy making those adorable little "spiderettes," its baby offshoots.
Let's break down each pillar into simple, actionable steps. Getting these basics down will build your confidence and is the key to successful spider plant care.
Let There Be Light (But Not Too Much)
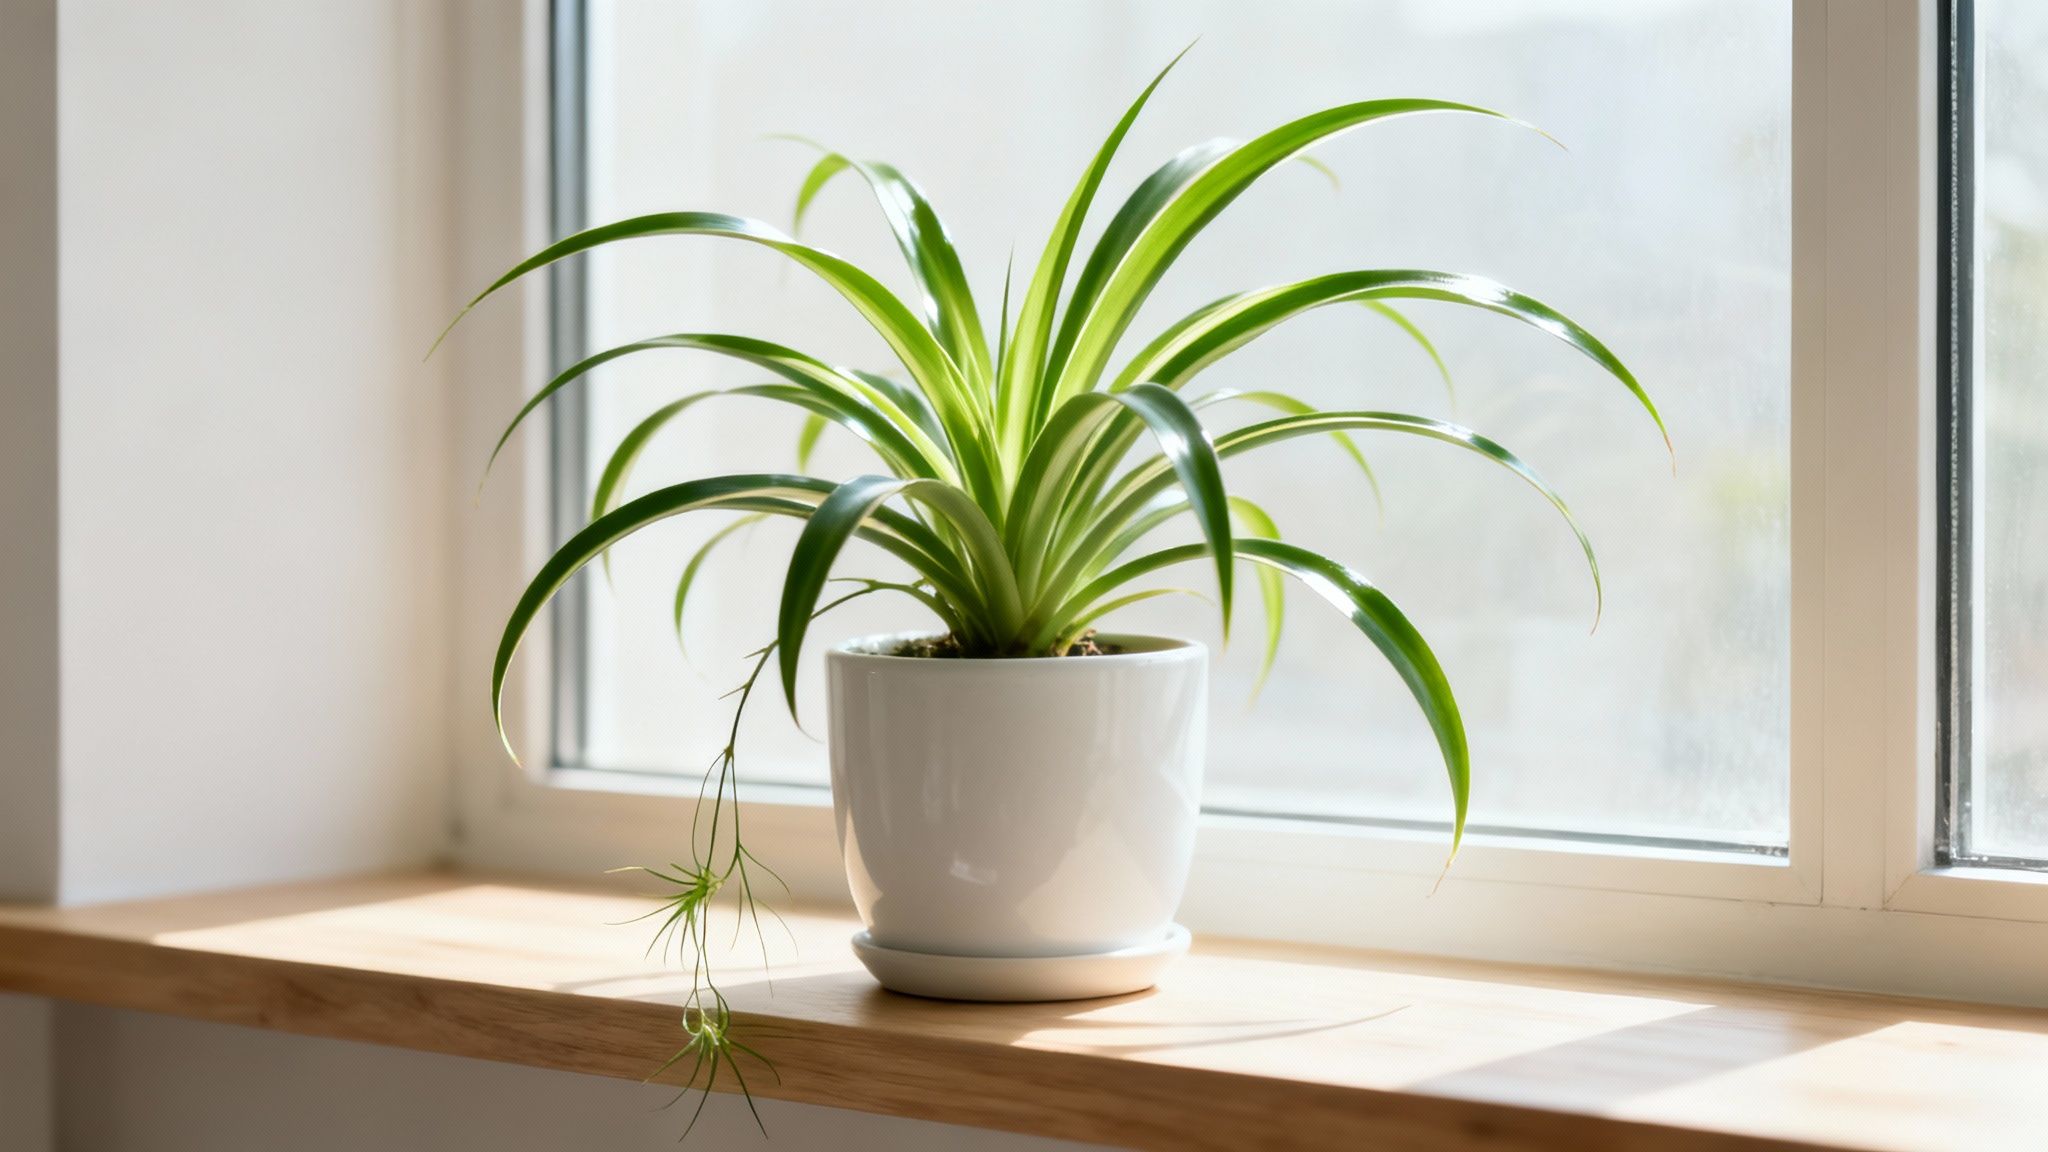
Spider plants are pretty easygoing, but they definitely have a preference when it comes to light. The sweet spot you're looking for is bright, indirect sunlight. Imagine the kind of dappled light you’d find under a big leafy tree—that's the perfect vibe.
Ideal Placement: An east-facing window is a fantastic choice, giving it that gentle morning sun. A spot a few feet back from a south or west-facing window works just as well.
Signs of Too Much Light: Direct sun is the enemy. It will literally scorch the leaves, leaving behind crispy brown spots and tips. If you see this happening, move your plant to a shadier corner immediately.
Signs of Too Little Light: While they can tolerate lower light, a spider plant stuck in a dim room will grow sluggishly. You might also notice its beautiful variegated stripes start to fade.
The Rhythm of Watering
Watering is where many new plant parents go wrong, but spider plants make it easy with one simple rule: the soak-and-dry method. Forget a rigid schedule; your plant will tell you when it’s thirsty.
Practical Tip: Your finger is the best tool you have for checking moisture. Just poke it about 1-2 inches (2.5-5 cm) into the soil. If it feels dry, it’s time to water. Still damp? Give it a few more days.
When it is time to water, be thorough. Carry the plant to the sink and let room-temperature water run through the soil until it pours out the drainage holes. This ensures every last root gets a good drink. The biggest mistake you can make is letting the pot sit in a saucer of water, which can lead to root rot. If you think you've been a bit too heavy-handed with the watering can, our guide on how to save an overwatered plant will walk you through the rescue mission.
Soil and Potting Perfection
Giving your spider plant the right home is crucial, and that starts with the pot and the soil inside it. These plants are prone to root rot, so excellent drainage is non-negotiable.
Go for a good-quality, all-purpose potting mix, but don't stop there. Mix in a handful of perlite or orchid bark to make the soil lighter and more aerated. This helps air get to the roots and stops the soil from becoming a waterlogged swamp. And always, always use a pot with drainage holes at the bottom—it’s the one rule you should never break!
Creating a Comfortable Environment
Spider plants aren't divas, but they do appreciate conditions that remind them of their tropical origins. A little attention to temperature and humidity goes a long way.
Here’s a quick-glance table to summarize everything your spider plant needs to feel right at home.
Spider Plant Care Quick Reference Guide
A summary of the ideal conditions for keeping your spider plant healthy and vibrant.
| Care Factor | Optimal Condition | Practical Tips |
|---|---|---|
| Temperature | 65-75°F (18-24°C) | Keep it away from drafts, open winter windows, or direct blasts from the A/C. |
| Humidity | 40-60% | If your home is dry, mist the leaves a few times a week or group it with other plants. |
| Water Quality | Filtered or Distilled | They can be sensitive to the fluoride in tap water, which causes brown tips. Letting water sit out overnight helps. |
Nailing these four elements is the secret to a spider plant that not only survives but truly thrives, filling your space with its arching leaves and baby plantlets.
Propagating Spiderettes: The Plant That Keeps on Giving
One of the best parts of owning a spider plant is watching it grow its own little family. Those tiny plantlets, or spiderettes, dangling from long stems are your ticket to an ever-expanding collection of houseplants. Propagating these little spider plant babies is incredibly simple and a fantastic way to embody Tendra’s “Connect. Grow. Share.” spirit with friends and family.
Think of it as helping your plant's kids move out and start their own lives. There are two main ways to do this, and both work great. You can pick whichever one sounds more fun to you.
This just goes to show that a healthy parent plant—one that gets consistent light, water, and good soil—is the key to getting lots of babies to propagate.
Method 1: Rooting in Water
This is the method for anyone who loves to watch the magic happen up close. There’s something so satisfying about seeing those first little roots sprout in a glass of water. It really connects you to the whole process.
Find a Ready Spiderette: Look for a plantlet that already has little root nubs forming at its base. These bumps, called root nodes, are a sure sign it's ready to go. You want them to be at least a quarter-inch long (about 0.6 cm).
Make the Cut: Grab a clean, sharp pair of scissors or pruning shears. Snip the spiderette right off the long runner connecting it to the mother plant.
Give It a Drink: Pop the base of the spiderette into a small jar or glass filled with room-temperature water. Just make sure only the root area is underwater—if the leaves sit in water, they'll rot.
Wait and Watch: Change out the water every couple of days to keep it fresh. In about a week or two, you’ll start seeing a nice network of roots growing. Once they're about 1-2 inches (2.5-5 cm) long, your new plant is ready to be potted in soil.
Method 2: Planting Directly in Soil
If you’re the kind of person who likes to get straight to the point, you can skip the water step completely. Planting directly into soil is a bit quicker and helps the new plant get used to its forever home from day one.
Practical Tip: Want a fuller, bushier new plant right from the start? Plant 2-3 spiderettes together in the same small pot. As they grow, they’ll fill out the pot and give you that lush look instantly.
To do this, just snip off a mature spiderette—again, look for one with those little root nodes. Plant its base directly into a small pot filled with a well-draining potting mix. For the first few weeks, you'll want to keep the soil consistently moist (but definitely not soggy!) to help those roots take hold. Before you know it, you'll see new leaves popping up, which is the best sign that your propagation was a success. Great spider plant care from the get-go will ensure these babies grow up strong.
Solving Common Spider Plant Problems
Even the toughest plants hit a rough patch now and then. But don't think of it as a failure—it's just your spider plant's way of telling you it needs something. Understanding these common signals will turn you from a worried plant parent into a confident troubleshooter.
This is your field guide to figuring out what's bugging your spider plant. We'll decode the messages behind those dreaded brown tips and yellowing leaves, giving you simple, clear ways to get things back on track.
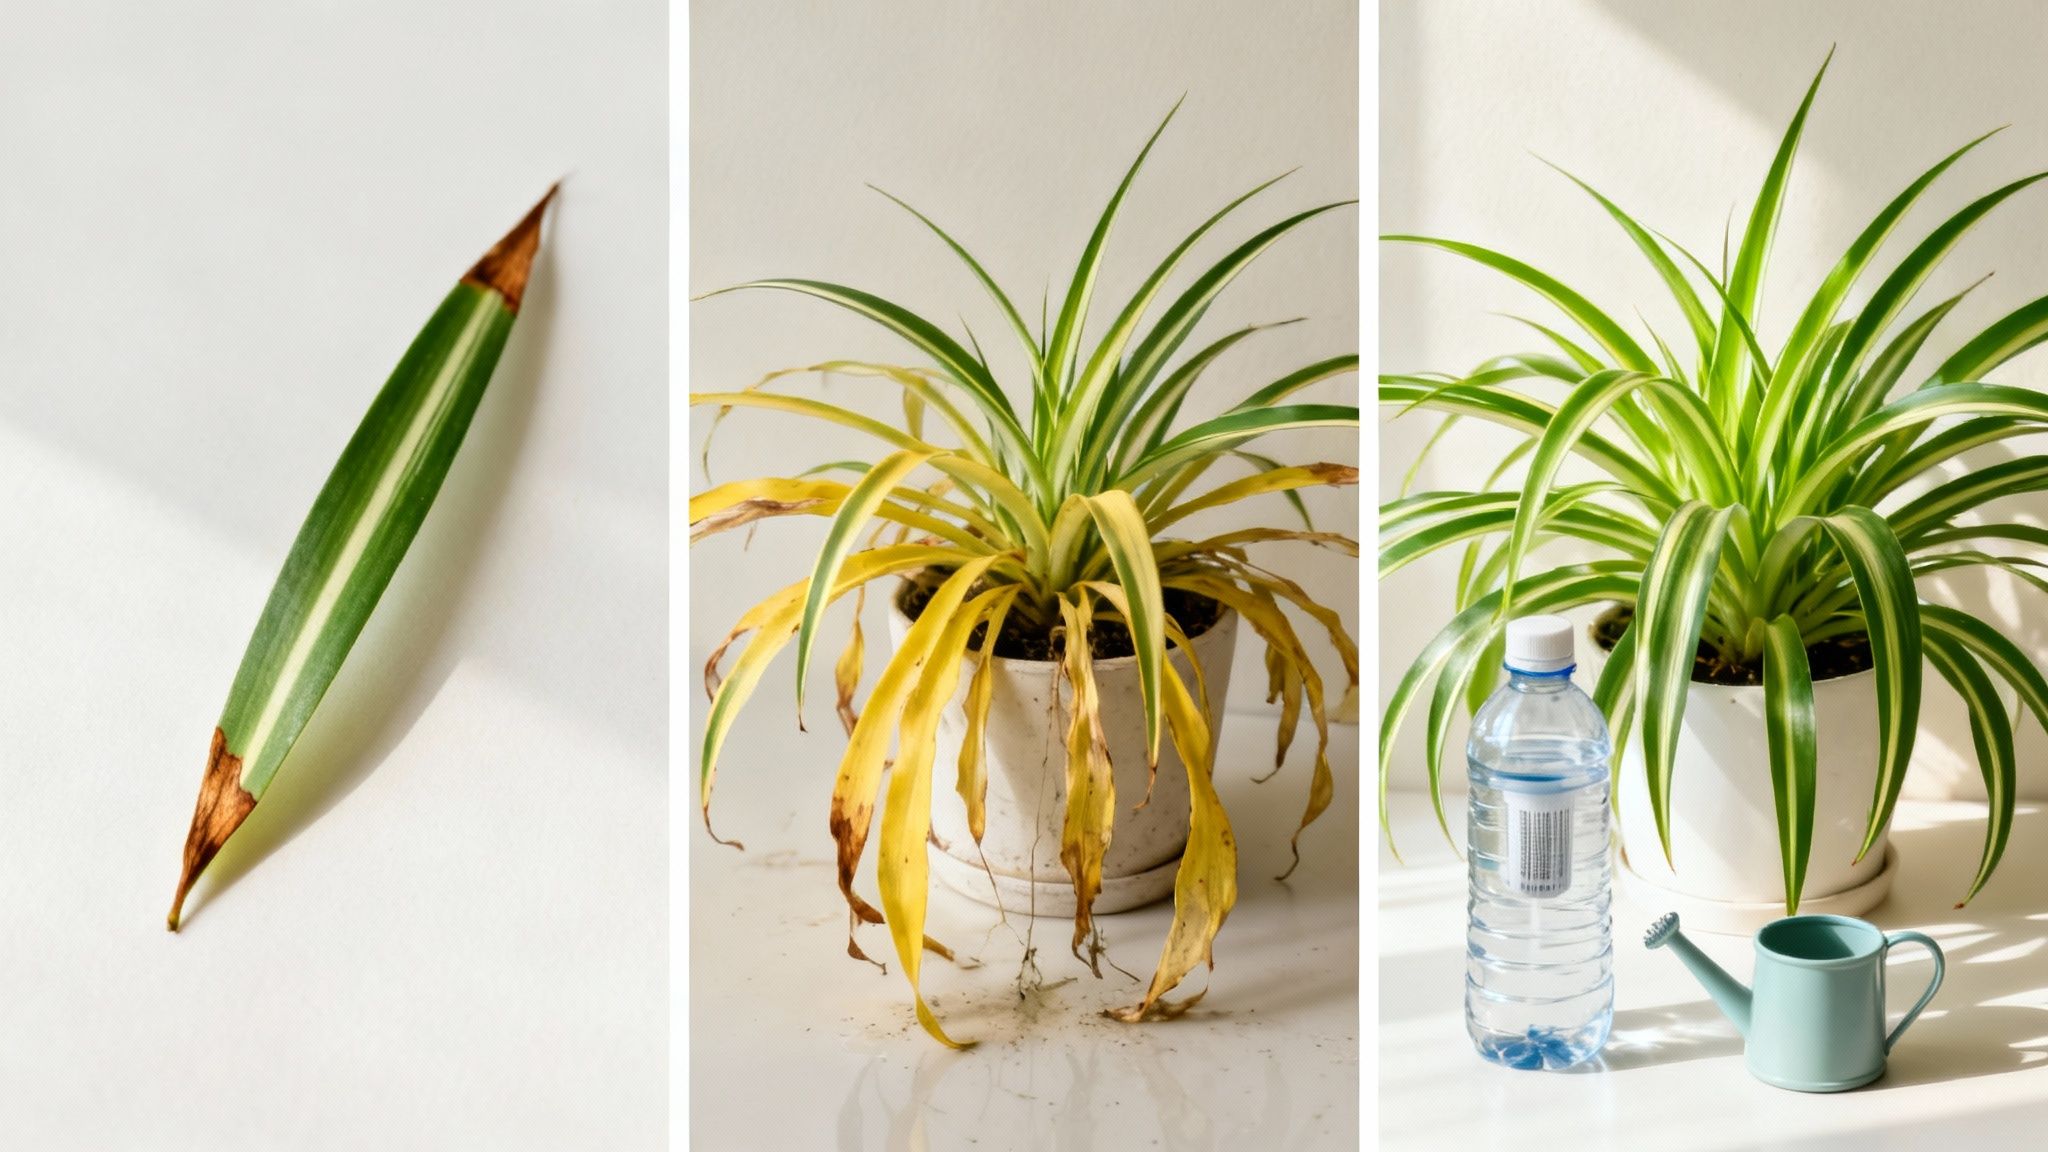
Why Do My Spider Plant Leaves Have Brown Tips?
Ah, the crispy brown leaf tip. It's easily the number one complaint I hear from spider plant owners. While it looks a bit sad, the cause is usually straightforward and easy to fix. This "tip burn" is rarely a sign of anything serious.
More often than not, the culprit is your tap water. Many city water systems contain fluoride and chlorine, which can slowly build up in the soil over time and cause the sensitive tips of the leaves to die back.
Solution 1: Ditch the Tap Water. Try switching to filtered, distilled, or even rainwater. If you must use tap water, let it sit out overnight (for at least 24 hours) before watering. This allows some of the chlorine to evaporate.
Solution 2: Boost the Humidity. Bone-dry air can also lead to crispy tips. Try misting your plant a few times a week or setting its pot on a tray of pebbles filled with water.
Solution 3: Check Your Watering Habits. Wild swings in watering—letting the soil get totally parched and then flooding it—can stress the leaves. Your goal should be consistently moist soil, never soggy.
Decoding Yellow and Drooping Leaves
Yellowing leaves can make any plant owner's heart sink, but hold off on the panic. Before you do anything, you need to play detective. The cause could be anything from a simple watering mistake to just an old leaf dying off naturally.
Droopy, limp leaves are almost always tied to water, too. Your plant could be desperately thirsty, or on the flip side, its roots could be suffocating in soggy soil. The only way to know for sure is to stick your finger in the soil before you grab the watering can. To dive deeper into what yellow leaves are trying to tell you, check out our guide on decoding your plant’s signals.
Tendra Tip: If you're ever scratching your head over a weird symptom, Tendra's AI Disease Diagnosis feature is a game-changer. It's like having a plant expert right in your pocket. Just snap a photo, and our AI will help identify the issue and suggest a fix, taking all the guesswork out of it.
Common Spider Plant Issues and Solutions
When you're not sure what's wrong, a quick-reference guide can be a lifesaver. This little table is designed to help you quickly diagnose the most common spider plant problems and find a solution that works.
| Symptom | Potential Cause | Tendra-Powered Solution |
|---|---|---|
| Brown Leaf Tips | Tap water chemicals (fluoride), low humidity, inconsistent watering. | Switch to filtered water; increase humidity. Use Tendra's Smart Care Reminders for watering. |
| Yellowing Leaves | Overwatering, root rot, natural aging of lower leaves. | Check soil moisture before watering; ensure good drainage. Consult the Tendra community for advice. |
| Drooping or Limp Plant | Thirsty plant (underwatering) or suffocating roots (overwatering). | Feel the soil. If dry, water thoroughly. If soggy, check for root rot and repot. |
| Pests (Spider Mites, Aphids) | Low humidity, infected new plants. | Isolate the plant, wipe leaves with neem oil solution. Use Tendra's AI Diagnosis to confirm the pest. |
With these tips, you'll be able to read your spider plant's signals and respond with confidence, keeping your green companion happy and thriving for years to come.
Taking Your Spider Plant Care to the Next Level
Once you've got the hang of the basics, it's time to move your spider plant from just surviving to truly thriving. This is where we get into the details—paying attention to its growth cycles and giving it the right support when it needs it most. These next few steps will keep your plant looking amazing for years to come.
This is the stuff—repotting, feeding, and pruning—that turns a nice-looking plant into an absolute showstopper.
Repotting a Root-Bound Plant
Believe it or not, spider plants kind of like being a little snug in their pots. It often encourages them to push out more of those charming spiderettes. But there’s a big difference between cozy and completely cramped. When the roots run out of room, your plant's growth will grind to a halt.
You'll know it's time for a new home when you spot these tell-tale signs:
Roots are literally escaping through the pot's drainage holes.
The plant is lifting itself up and out of the pot.
Water rushes straight through the pot because there’s more root than soil.
When you see this, grab a new pot that's only 1-2 inches (2.5-5 cm) wider in diameter. If you go too big, you risk shocking the plant and creating a soggy mess of soil. Gently loosen up the old root ball, settle the plant into its new pot with some fresh, well-draining soil, and give it a good drink.
A Feeding Schedule for Lush Growth
Fertilizing is like giving your spider plant a nutritious meal, refilling the soil with all the goodies it needs for vibrant leaves and plenty of babies. But it's super important not to overdo it. Too much fertilizer can actually burn the roots and scorch the leaves.
During the spring and summer, when your plant is actively growing, give it a boost once or twice a month. Use a balanced, all-purpose liquid houseplant fertilizer, but dilute it to half-strength. When fall and winter roll around, growth naturally slows down, so you can stop feeding it altogether.
This seasonal rhythm works with your plant's natural cycle, giving it energy when it's in high gear and letting it rest during its downtime.
Pruning for a Healthy, Tidy Plant
Pruning isn’t just about keeping your plant looking neat; it’s about redirecting its energy toward growing strong and healthy. It's a really simple task that makes a huge difference.
Grab a clean, sharp pair of scissors and trim off any yellow or fully brown leaves right at the base. If a leaf just has a brown tip, you can just snip off the damaged part. It's also a good idea to remove any flower stalks once they’re done blooming. This quick bit of maintenance keeps your plant looking fresh and stops it from wasting energy on parts that are dying back.
And if you’re the forgetful type, the Smart Care Reminders in the Tendra app are a lifesaver. You can set up your own alerts for feeding and repotting, which makes leveling up your spider plant care feel completely effortless.
Conclusion: Grow and Connect with Confidence
And there you have it. Masterful spider plant care is a journey of observation and response. We’ve walked through everything from getting the light and water just right to the absolute magic of watching new spiderettes take root. You've learned how to troubleshoot problems with confidence, turning what could be a headache into a simple fix. The spider plant is a fantastic teacher, always showing you what it needs. Its habit of sending out babies on long runners makes it the ultimate plant for sharing, a natural way to connect with other gardeners.
You don't have to go it alone. Your journey is part of a much larger story. Discover how to find your plant’s local growing partners with Tendra - where local gardeners connect and thrive.


